Spring is creeping up…time for some cleaning!
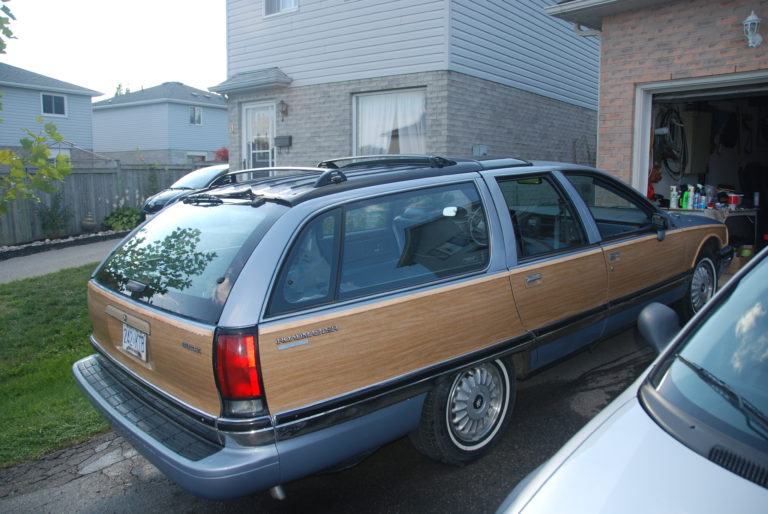
We were almost in the throes of winter when I bought the Roadmaster and it’s been too cold to do much to it. When it arrived, it needed to have several mechanical and electrical issues addressed before I could safety the car and drive it. I took several days off of work and used up the last of the warm days repairing the window switches and the rear window rollers. It took much longer than I expected to locate the wiring issues causing the window switch problem and before I knew it winter was upon us and it was time to hibernate.
It’s been a balmy -2C over the last few days and so I suited up in my winter weight coveralls and headed outside to do some work. I took pictures of some of it, but I’m still having some trouble getting into the habit of picking up the camera while I work. I get carried away with what I’m working on and I forget to document it to share. I am getting better though.
I decided to work on the Pontiac in the garage and see if I could make another attempt to get the seats clean. I’ll write that up next. While my Folex was soaking in on the Parisienne’s cushy keister holders I decided to get started on cleaning the Roadmaster’s engine compartment.
If keeping cars clean has taught me anything it’s that it’s a huge job! Especially the engine compartment. As with any large task, simply breaking it down into much smaller parts makes it go much smoother. As each little piece gets done the sense of accomplishment keeps the projects’ momentum up.
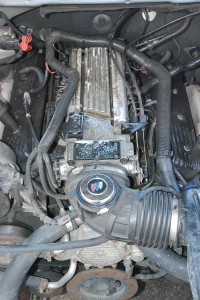
In addition to the Pontiac fabric tests I decided that I wanted to see the master cylinder, brake booster, and brake lines clean and I would try to get the mouse urine stains off of the top of the intake as all of those items have really been bothering me. As you can see in the image below, the mice left quite a mess while they lived under the resonator before I bought the car. The car has been undercoated and it seems to have gotten everywhere. That black sludge on the master cylinder and brake lines has been bugging me for some time. Actually the sludge everywhere has been bothering me but one step at a time.
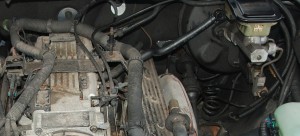 I started by spraying down the master cylinder, brake booster and brake lines with Releasall bio-degradable de-greaser. It’s pretty nice stuff. It’s not as strong as some of the others but you don’t have to worry about how you rinse it off either. I’m a big fan. After it had soaked in for a few minutes I worked all of the sprayed areas with a soft paintbrush. I keep a number of these brushes around for doing the door jambs when I’m cleaning the cars. It worked perfectly well here. Any areas what were more caked I used an old toothbrush on and they cleaned up fine.
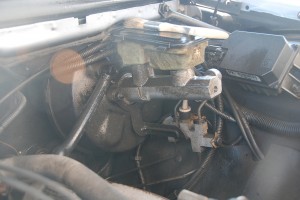 As I’m more than a little picky when I’m cleaning the car, I repeated this process several times until I was comfortable with the result and I gently rinsed it all off with the garden hose. Voila one small portion of the car is clean at last! I’m not exactly ready for the concours but I feel like I’m making progress.
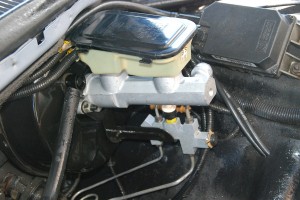 Next I went to town on the top of the intake manifold. Them meeses shure can be messy little critters. As least this is cleanable. I’m still a little bitter about them having made their nest by tearing a large hole in my hood liner material.
The degreaser won’t make the intake shiny and new, but it’s going to give me a good starting point for whatever the next level is. I’m pondering whether or not I’ll purchase a second intake and clean/detail it on the bench and just replace it. I haven’t made up my mind yet. In any case this one needs to be clean while I make up my mind. I let the degreaser soak in and gave it the same toothbrush treatment. I did this two or three times before VERY carefully rinsing off the top of the intake with a garden hose on very low pressure. There’s no need to hit the engine compartment with high pressure water. Cleaning everything by hand first means that a gentle rinsing is all that’s required. That will prevent water from getting into any electrical components.
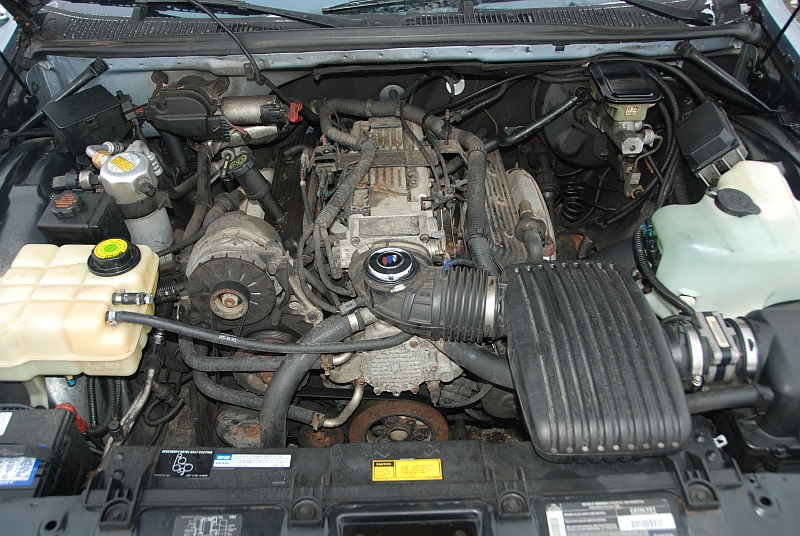
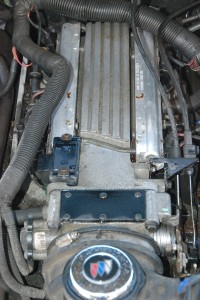 Here we are. Now there are at least a few things in my engine compartment that are starting to look clean. I won’t be quite so embarrassed every time I lift the hood. Discounting the time I left things soaking with degreaser I think my total time on task was maybe 30-45mins. Doing this stuff in little bits means that you can work things in while other projects are going on.
Stay tuned for some shots of the Pontiac interior cleaning!
Nice work Kevin!
Good idea taking it a piece at a time.
FWIW, if you use a “cast aluminum” spray paint on the top of the intake, it’ll look brand new.
Thanks for sharing about Releaseall.
I’ve never heard of it.
Nice work and nice writeup!
Stewart
I’m pondering whether or not to paint the recessed portion of the intake either gloss black or body colour. I figured it might be worth testing it out on a scrap intake to see what it looks like.
Either idea sounds good.
I’d say black unless you are going to do a color theme in the engine bay.
I can’t wait to see what you come up with!
Detailing.
It’s addictive isn’t it? 😉
Yeah, black is pretty much always my first choice. I’d really love to see a high gloss enamel and aluminum mixture there.