Getting ready for (next) winter
We finally got several days here in a row without any sign of snow so I figured it was finally time to remove the snow tires from The Mrs. Sebring. We got a single bright sunny day last week with a high of 21C, the following day the temperature dropped by 10C and it started to rain again so I was fortunate to get some work done in that single day. When we bought the snow tires installed last year, there had been some snowfall overnight and even a little bit of salt put on the roads. It didn’t occur to me when I put them away, but the tire shop had packed up the summer rims and tires in plastic bags. The summer wheels are steel rims with chrome plastic wheel disks. The tires were packed in the plastic bags while they were still wet last year and they had started to rust over the winter in the garage. I managed to get the beginnings of corrosion cleaned off of the wheel disks and a little bit of the rims. I figured, since the winters were coming off, I might as well clean them up right before I stored them. They’ll be stored on a rack in the garage and not in plastic bags, but it’s still work that’s worth doing.
You may notice that when you buy a non-plated tool, it often has a light coating of oil on it in the package. I generally clean these types of tools after using them and replace the coating of oil before putting them away. I figured this was probably a good place to start with the winter rims before storing them.
I pulled the winter wheels off of the car, reinstalled the summer rims, torqued all the nuts and started to work.
The inside of the wheel rim was pretty thoroughly coated with road grime and mud from the winter so I rinsed that out with a hose before cleaning it thoroughly with Greased Lightning Orange Blast. The wheel weight brackets and a few other spots had started to rust, but nothing too serious so I just continued with my cleaning and protecting. 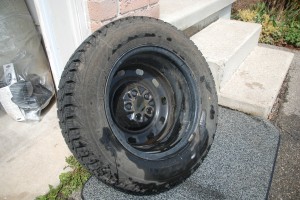 Now that they were rinsed and cleaned I took a little bit of oil from a 5W30 container that was left over from my last oil change. I applied a small amount onto a cloth and applied it thoroughly to the entire surface of the steel rim on both sides.
 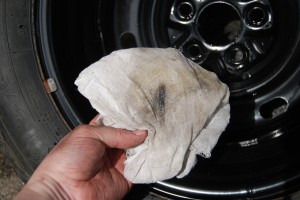 It’s important to coat the entire surface of the rim but it doesn’t have to be dripping in oil, a light coat is all that’s required as it’s just going to be sitting on the tire rack in the garage for the summer.
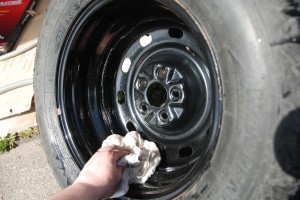
With the rims coated in oil I took a wheel brush and scrubbed the tire surface to get it clean and free of road grime and salt on both sides. This was also a good time to check the tires for punctures from nails, screws etc and pull out any stones from the treads. Fortunately, the tires had no damage and I didn’t have anything to worry about.
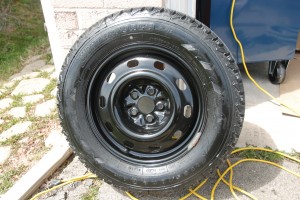
With the rim oiled, the tire surface inspected and cleaned I coated the tire surface with rubber protectant, let it soak in for 5 to 10 minutes and everything was ready to be put away for the summer. It actually took longer to clean the wheels than it did to swap them off the car, but the effort was worth it and I know that the tires and rims are in good shape for next year. One car down, two to go. Now if the weather will just cooperate I can spend more time working outside on the cars.
