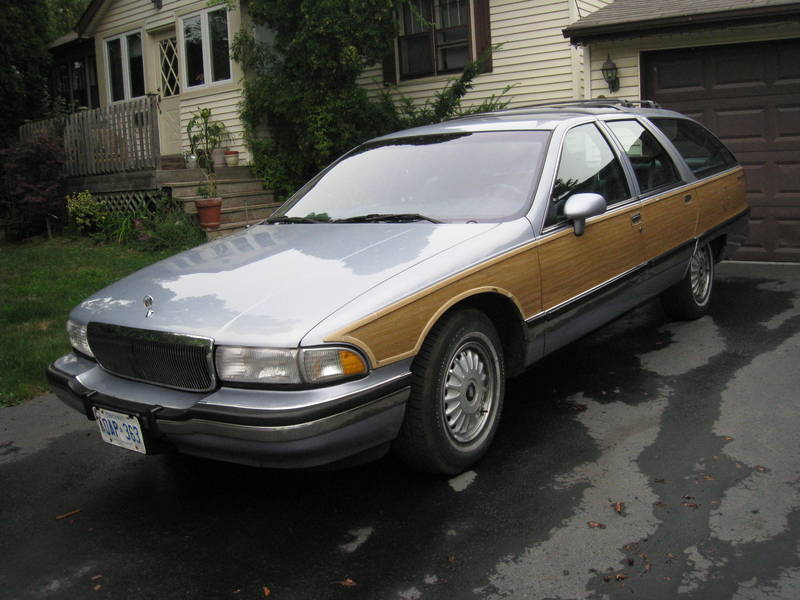
Fresh woodgrain for the Roadmaster
This past weekend was a long one for us Canucks and I decided to spend it working on my wagon.
I’ve been wanting for some time to refinish the aging woodgrain trim on my wagon. For those who aren’t aware, the woodgrain trim on the sides of these wagons is vinyl. It’s often  referred to as Di-Noc and is really just a large glorified adhesive sticker. The lighter coloured trim pieces around the woodgrain are actually made of aluminum wrapped with a vinyl sticker of another colour. Needless to say, over time these vinyl stickers fade and or peel off.
I’ve heard it said over at StationWagonForums.com that nothing improves the overall appeal of a station wagon more than freshening up the woodgrain. I wanted my wagon to have that benefit and I set out to redo my trim. I started 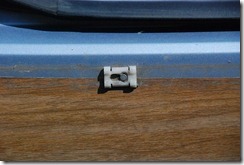 out by removing the trim from the car. In most spots the trim is held onto the car by small plastic trim clips. These clips attach onto the car by snapping onto metal stud welded onto the body of the car. The trim snaps onto these clips. Removing the trim from these clips is simple enough, it’s just important to remove the trim gently and not allow the clips to break during the removal. It’s always a pain in the butt to have to locate a source for these sorts of things.
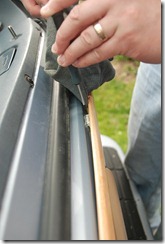
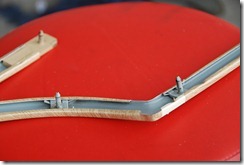
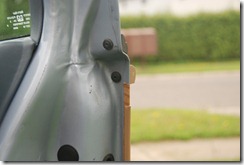
Here you can see that the trim can be removed by prying it gently away from the car. I used a trim removal tool and wrapped it in a rag to prevent the paint from getting scratched. Sliding the tool along the body in behind the trim will allow the trim clips to be located. As can be seen in the above picture the trim clips have small spring tabs on either end. Pushing down on one these spring tabs will allow the trim to come away from the car. In some cases the trim is held onto the car by other means depending upon where it’s located. At the doors there are screws and posts that pass through the door panels. The tailgate trim is held on the outside edges with screws and the nose pieces are held on via trim posts that insert into bushings set into the body of the car.
Once all of the trim pieces are removed now is a great time to clean up the trim clips and scrub off any road dust that has accumulated under the trim. I removed all of the trim clips and soaked them in cleaner before  reinstalling them onto the car.
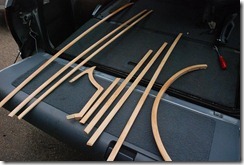
The trim pieces will also need to be cleaned and all of the vinyl woodgrain removed. This can be a pretty fiddly part of the job. That vinyl has been on there for close to 20 years and may be in rough shape. In my case, many of my trim pieces were bad enough that I was able to just peel them off. Some other pieces were in like-new condition and needed some help. I found that a piece of 80 grit sandpaper stripped the vinyl off quickly enough so I sanded all of mine down. I wasn’t terribly worried about scratches to the aluminum as I would cover it up later. After sanding each piece down to get all of the vinyl off, I washed the pieces again and then re-sanded them with 400 grit wet/dry sandpaper to smooth it out a bit.
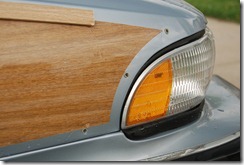
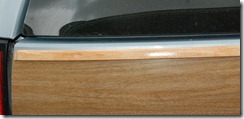
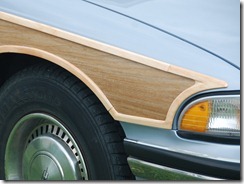
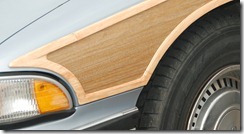
With all of the pieces prepped and ready I began to paint. I purchased two cans of Tremclad rust paint (Rustoleum to any folks from the U.S.). One can was custom colour #501-Almond and the other was #511-Toffee. Custom colours like this can be mixed at any Home Depot. I found an old paint brush and used it to swipe the Almond colour on to each piece of trim. The old paint brush’s bristles were just stiff enough to leave brush strokes in the paint, which helps out the woodgrain look that I’m after. After the Almond paint had dried I started to work with the Toffee colour. I used an old terrycloth towel to spread the darker colour over top. I wrapped the towel around my hand and dipped my finger in the paint. I used my index finger to spread the paint lightly on the surface of the trim and then used a paint free portion of the cloth to brush in the woodgrain look. It took a little trial and error to get the right look but even the areas that I goofed up just added to the wood look of the pieces. All in all it was a very easy process. Since this trim will be exposed to the elements a good part of the time I finished each piece off with an automotive clear coat. My can of clear coat was several years old and sprayed out sort of spotty which actually aided in the overall stained wood look.
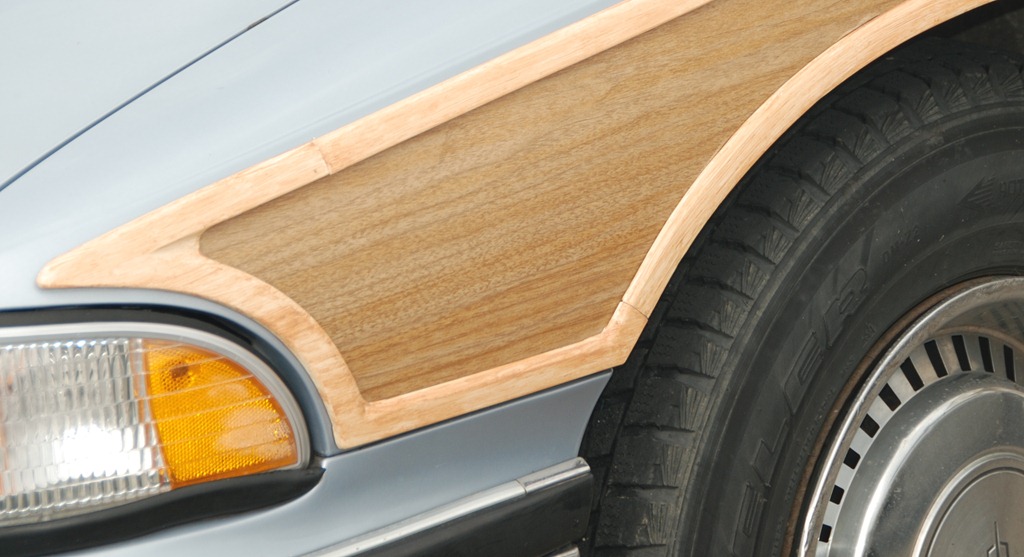
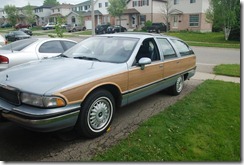
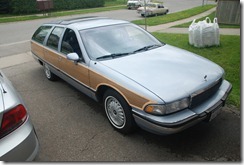
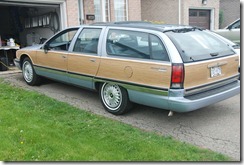
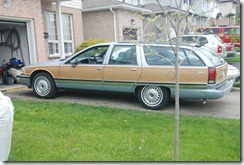
Here are some pictures of the finished trim and the car with everything reinstalled.
Excellent write up! It came out great!
looking for place in n.va that carries would grain vinly so i can replace on a van i have .thks. andrew
Your best bet is to purchase something online instead.
Try here:
http://www.woodgrain4wagons.com
3M also makes some beautiful woodgrain vinyl. It’s a much higher gloss vinyl than what would have been originally found on a vehicle but it’s nice.
Stripeman.com carries 3M products as do many companies that do vehicle wraps and graphics.
http://www.stripeman.com