Parisienne Headliner replacement
When I bought my 1981 Pontiac Parisienne, one of the most noticeable defects was the interior headliner. Anyone who’s ever owned a car older than 1990 probably knows what I’m talking about. The fabric on the roof of the car is often glued to the headliner. That’s part of what gives it that smooth contoured look. When I went to look at my Pontiac prior to buying, my father and I got a chuckle out of the plethora of upholstery tacks adorning the cabin ceiling. While they weren’t placed in any particular pattern, the tack heads all over the headliner made it look as though the fabric was quilted. It didn’t strike me as a crucial issue as I was considering the car for purchase and the look sort of grew on me after a while.
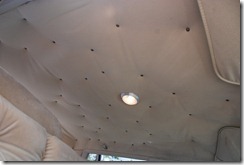
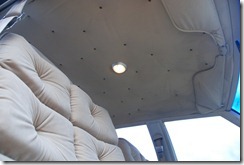
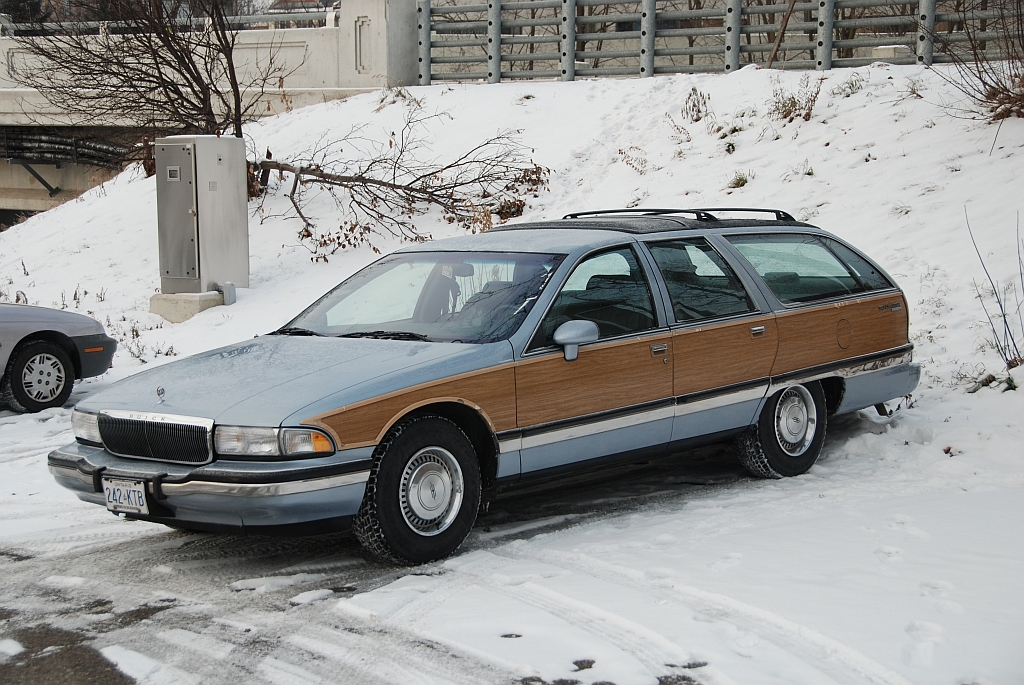
Well, the Buick has a loose AC Compressor clutch flopping around on the end of the bearing since it decided to give out on the way back from Barrie a couple of weeks ago. Each time I stop and start the car, it gets a little worse. I parked the Buick in the garage and I’m driving the Pontiac until I can get that resolved. The Buick is due for some interior work anyway so leaving it in the garage isn’t a huge issue. Unfortunately, the Pontiac’s AC has never worked and those cushy, padded, Brougham interiors get mighty warm on a summers day. In hot, sunny weather, windows-down is the only way to cruise. For those of you who say leather is the worst interior on a hot summer day, try sitting inside a foam-padded box! On a recent road trip, the Mrs and I had all of the windows down while sailing down the highway and the added breeze caused the headliner to come free from the edges. When we arrived at our destination we discovered a layer of rotted 30 year old spray-on foam over EVERYTHING. Unlike traditional foam rubber, which collapses to dust when brushed at, spray-on foam reverts to a slimy paste when touched. Brushing it off our clothes was quite a challenge. It seems that the ever-so-quant quilted headliner look would need to go sooner rather than later.
By a phenomenal fluke, our local Len’s Mill Store mill-end fabric store (where yours truly worked his way through high school cutting upholstery) had a roll of light upholstery that was a near perfect replacement for the aged headliner fabric. We couldn’t have found a more suitable replacement without heading to Oshawa in a time machine set for 1981. Frankly, I think the replacement fabric is actually much nicer than what the factory installed. The roll of fabric was strangely even 64″ wide which made it more than wide enough to cover the width of the car. I picked up a few yards of that nifty find along with some 1/4″ foam cut right off the roll, some spray adhesive and headed home.
Getting the old headliner down was an interesting challenge. I have a 1981 Fisher body guide for my Pontiac but it was of little help. The headliner removal steps explained that the garnish trim around the windows should be removed by releasing the clips but made no mention of what kind of clips were used, or how to release them. Needless to say, I had to break one to get my answer. The trim along the top of the doors was a simple snap-on affair with some clips that screwed into the body at the top of the door frame. The front and rear glass garnish trim was another matter altogether. The clips in question seat into the trim and then snap onto the body. Assuming that the trim would simply snap off of the clips was a mistake. The clips have a boat anchor shaped dealie that inserts into slots in the roofline. Sliding a slim screwdriver under the trim allows one or both outer arms of the “anchor” to be depressed and the clip pops away from the roof. I got so frustrated with this whole process that I forgot to take any pictures of it.
With that in mind here we are with the headliner out of the car and you can see the nasty rotted foam that had been sprayed onto the headliner to hold the fabric on. We can do better than that! I fished out an ice scraper from the garage and went to work removing the old foam. The headliner itself is made of a compressed foam/styrene sort of stuff like really dense styrofoam so I wanted to ensure I didn’t damage it while removing the spray-on foam. It’s good to be really careful when doing the intricate dance required to get the headliner down from the roof and out the front passenger door. Patience is the key.
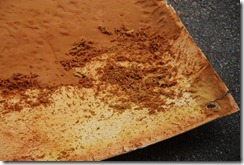
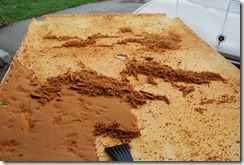
The foam itself came off quite well, despite making a mess and smearing into goo if not handled correctly. It was rotting anyway so removal was hardly the issue. After I got all of the foam scraped off I cleaned the whole thing with some Goo-Gone Automotive Adhesive Remover. I didn’t need it to be perfect, but I wanted to ensure that there wasn’t anything left to interfere with the new adhesive.
I laid out the foam onto the headliner and trimmed it to fit, I then did the same with the fabric. A word to the wise here, cut the foam and fabric to the same size as the headliner. A factory headliner came out of the package as one piece without any over hanging bits. Leaving a little extra around the edges thinking that you can tuck it in later will just result in sadness during the reinstall. There is little room in the car to tuck extra fabric and foam once you start reinstalling and trimming little bits off after it’s in place doesn’t work so well either.
With my foam and fabric cut I sprayed my adhesive onto the headliner and the back of the foam and started gluing.
Another learning curve here. If this is your first headliner as it was mine, don’t buy the spray adhesive that you found at the fabric store. It’s just not strong enough. I wound up heading to Canadian Tire for some Permatex Heavy Duty Spray Adhesive. Note that Permatex specifies that their “Heavy Duty” spray adhesive is required for headliners. This stuff is great, sticks fast, and holds on something fierce. By the time I sprayed the headliner, both sides of the foam, and the fabric the job took 4 cans.
The foam isn’t too big of a deal to get on if you’re working alone but when it comes time to lower the fabric in place recruiting another pair of hands will make life much easier. The Mrs gave me a hand with lowering the fabric down and smoothing it out. Permatex sets really fast and second chances aren’t really an option with this stuff. Ensure your hands aren’t covered in old rotting foam before you start to smooth out the fabric or you’ll wind up with a cleaning job later. After the fabric was in place, I trimmed around the outside edges (I left a little extra see my note above.) and cut some holes for the clothing hooks, sun-visor mounts, and interior dome light to ensure that everything went back together correctly.
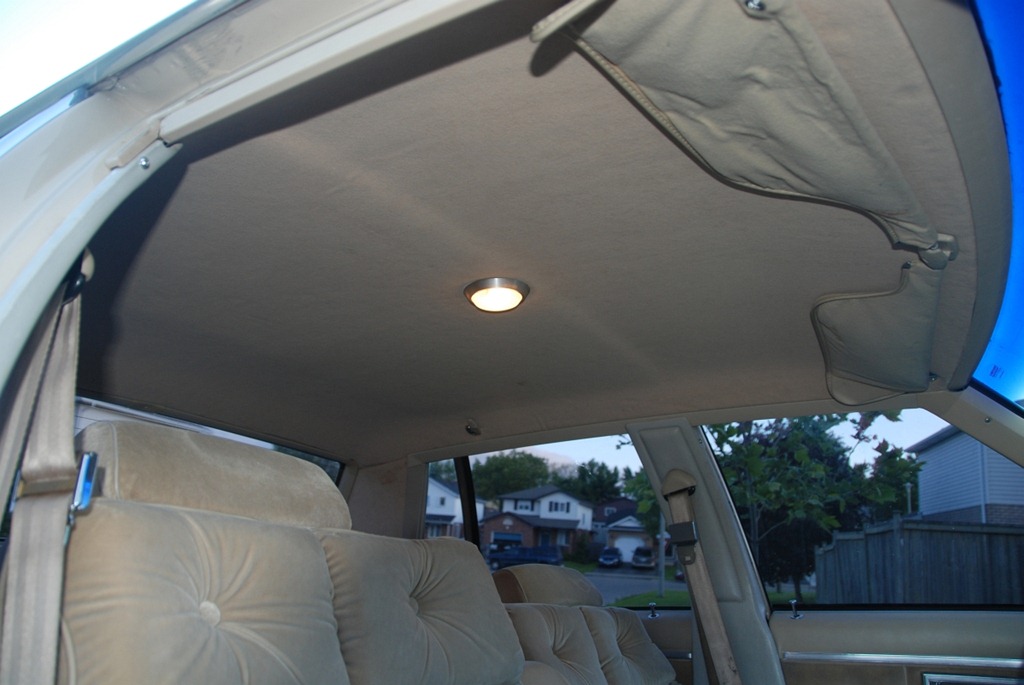
I’ll not bother anyone with the reinstallation process. If you got it out, getting it back in again is a breeze. I haven’t re-covered the sun-visor’s yet and just reinstalled them as is. You can see in the photos below that the match between the new fabric and the old fabric on the visors is pretty close. This being my first headliner, there were a few mistakes made, all of which I’ve provided warnings for above. Overall, I’m really happy with the results. I hope this helps out anyone looking to tackle this. It’s actually quite a simple project, for this car at least and was really quite fun.
Nice work! Good write up as well. That came out really well!
Wonder how this held up. I have an 83 Parisienne and the mice seemed to make a home in the headliner over the winter. Trying to find a fabric that matches the original blue previous
We ran the car for another year or two after swapping the headliner but we sold it 8 or 9 years ago. It held itself in place really well for as long as we drove it. I was really pleased with the look of it. I haven’t kept in touch with the buyer to see how things might have held up for him.